

I used the Kyosho “MZN201 – Skyline GT-R R32 Group A Specifications” white body to build this livery. You can find a description of this body here.
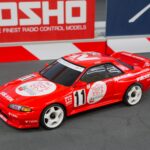
This build will feature the iconic HKS R32 #87, famously seen in Round 3 of the 1992 JTCC. Its bold livery, while polarizing – some might even call it ugly – certainly makes it stand out from the pack.
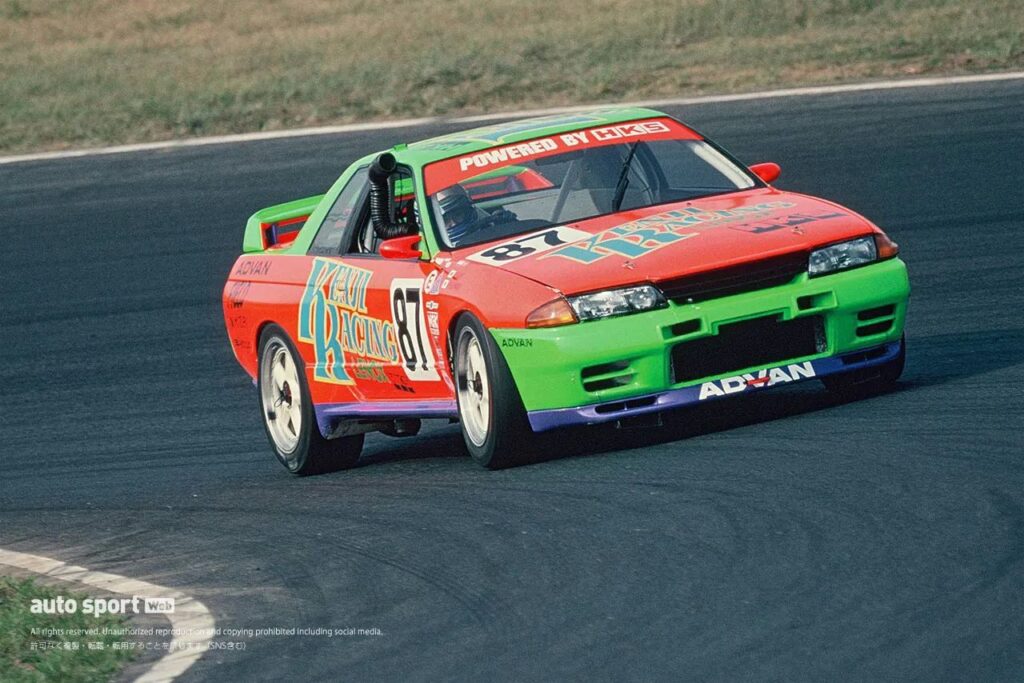
During that season, HKS sported three distinct liveries, each with its own story. For a deeper dive into the history behind these iconic designs, check out this insightful Japanese blog: HKS GT-Rの意外な出どころ
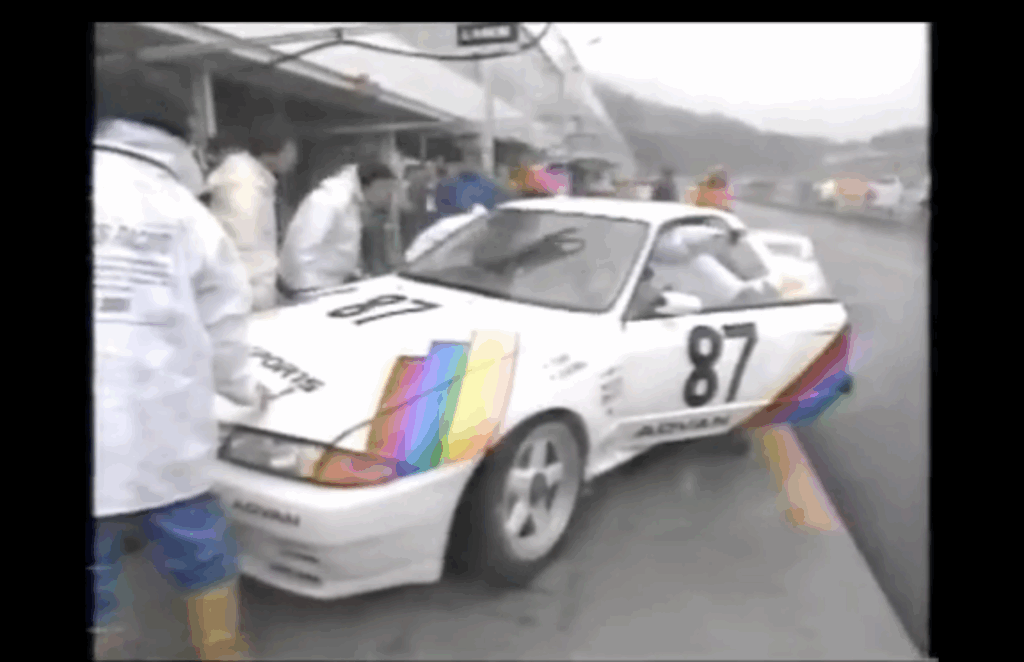
The season kicked off with Round 1, where the HKS R32 debuted in a sleek white body adorned with bold red, blue, and yellow stripes – a livery that echoed some of the design elements from their Macao appearance the previous year.
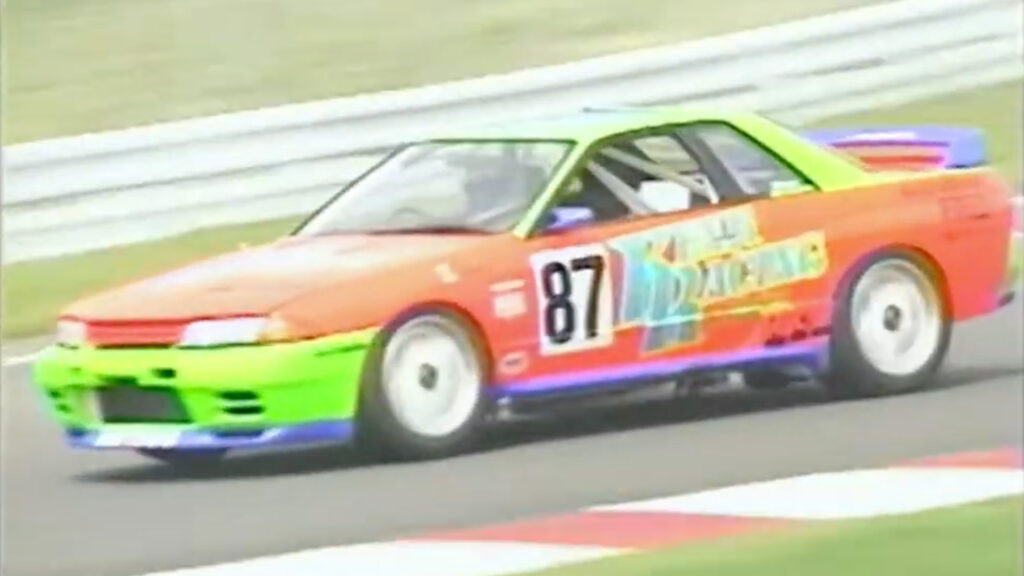
With the arrival of new race director Kenji Moriwaki, the HKS R32 underwent a striking transformation from Round 2 to Round 7, donning a bold new livery that showcased vibrant fluorescent colors.
For the season’s final round, following Kenji Moriwaki’s departure, the HKS R32 returned to its roots with a more ‘classic’ livery, proudly sporting the company’s signature colors.

Decals design & body colors
Here is the car’s livery as seen in the round 3:
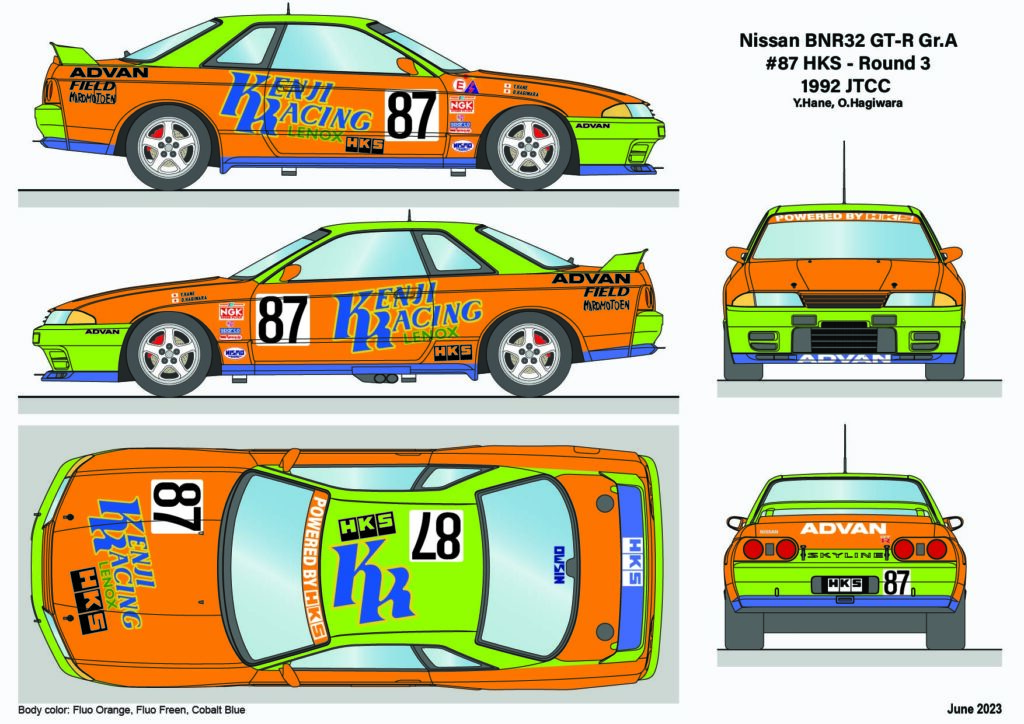
Given the scarcity of reference images for this particular livery, the real challenge lay in accurately designing the Kenji Racing logo and selecting its colors. While minor details like side mirror and trunk wing colors, as well as sponsor logos, varied across rounds, I strived to achieve the highest level of accuracy possible.
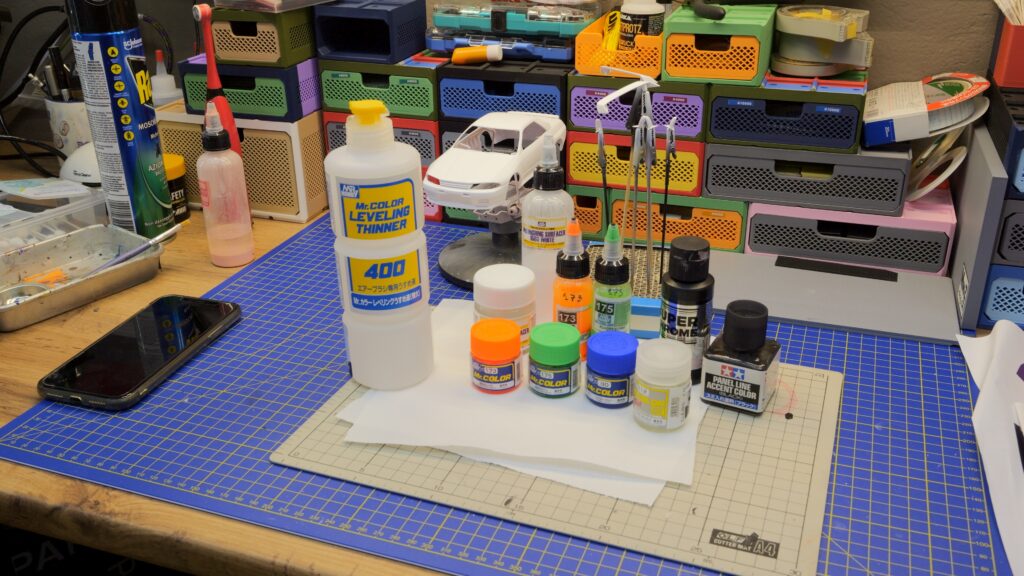
For this vibrant scheme, I selected MR.COLOR paints: C173 Fluorescent Orange, C175 Fluorescent Green, and C80 Cobalt Blue. Given the translucent nature of the fluorescent colors, I ensured the body was primed white to achieve optimal coverage, applying multiple thin layers for a flawless finish.
Body preparation
To achieve a seamless finish, the body underwent meticulous sanding to eliminate parting lines, and all grooves were re-engraved to add depth and dimension. The body was then primed with MR.FINISHING SURFACER 1500 WHITE, carefully diluted with MR-COLOR LEVELLING THINNER, providing a smooth white base coat.
Painting the body
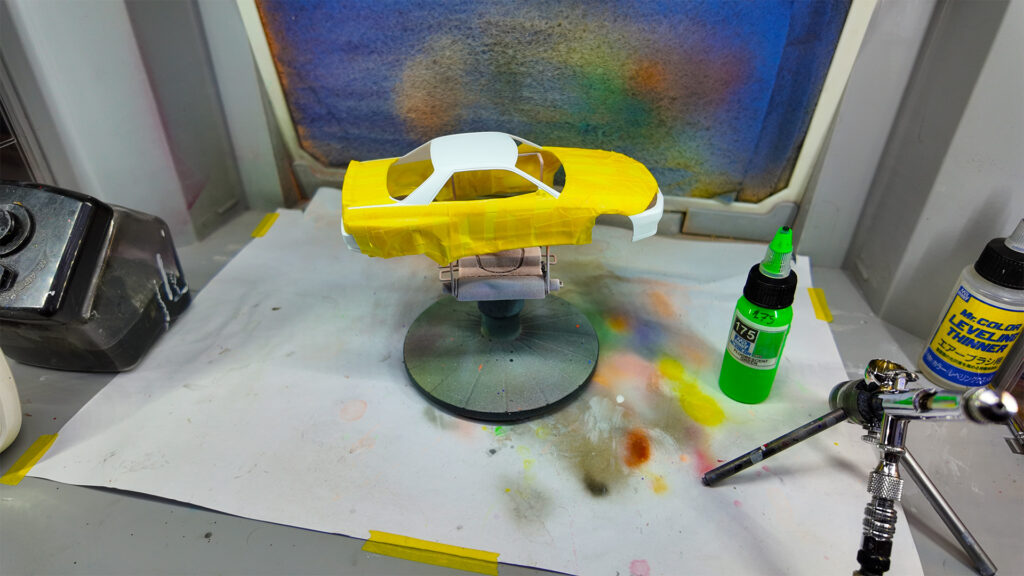
With multiple colors to apply, precise masking was essential. I began by carefully applying the fluorescent green, setting the stage for the rest of the vibrant livery.

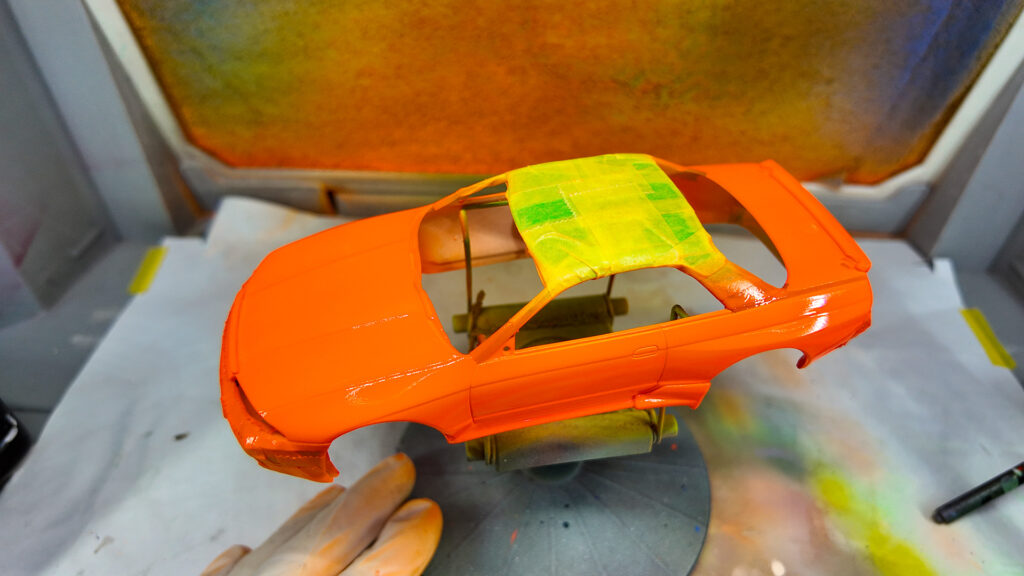
Next, I applied the fluorescent orange, which really brought the model to life – the car was starting to take shape and look amazing!
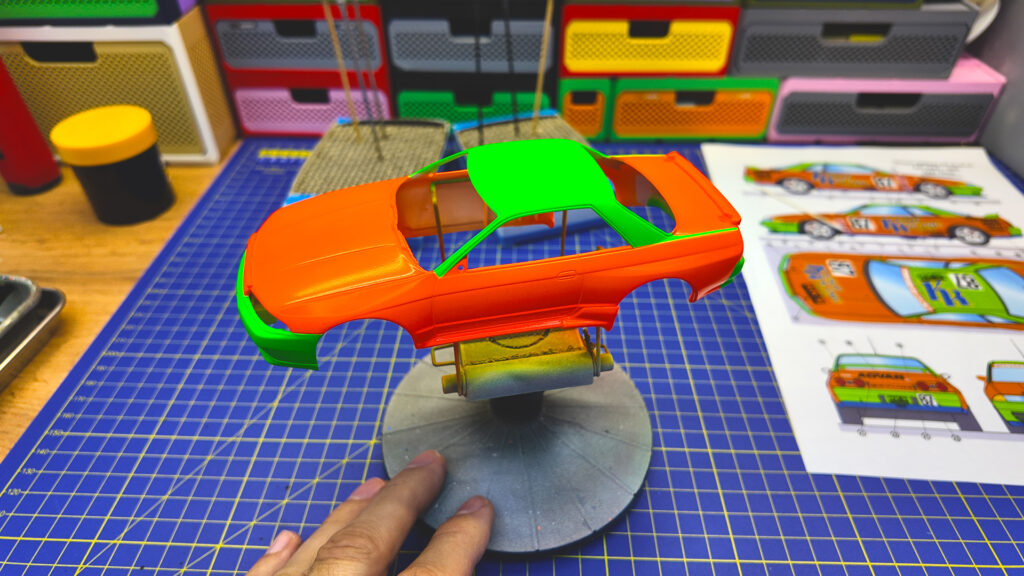
With the cobalt blue added, the color scheme was complete.
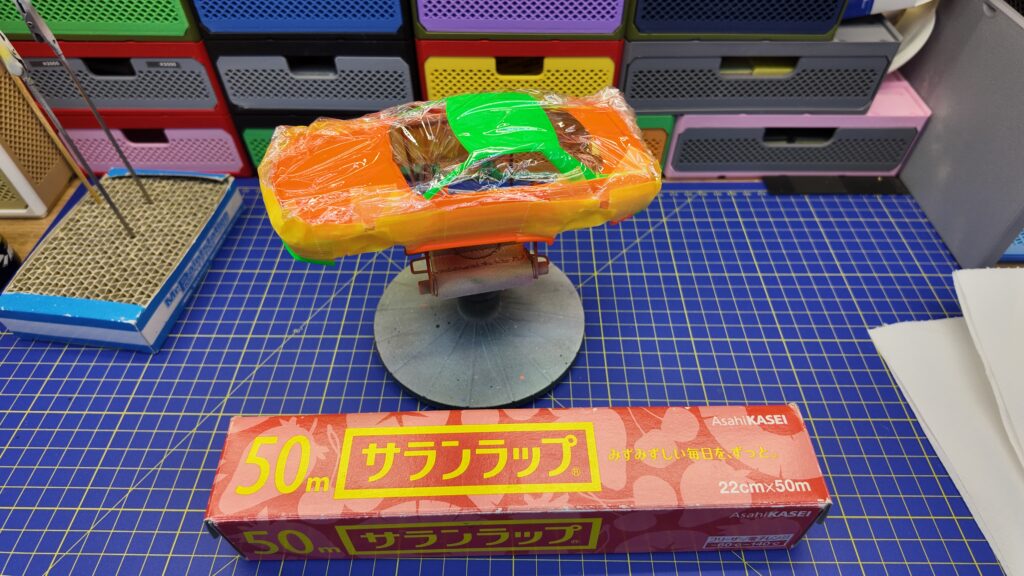
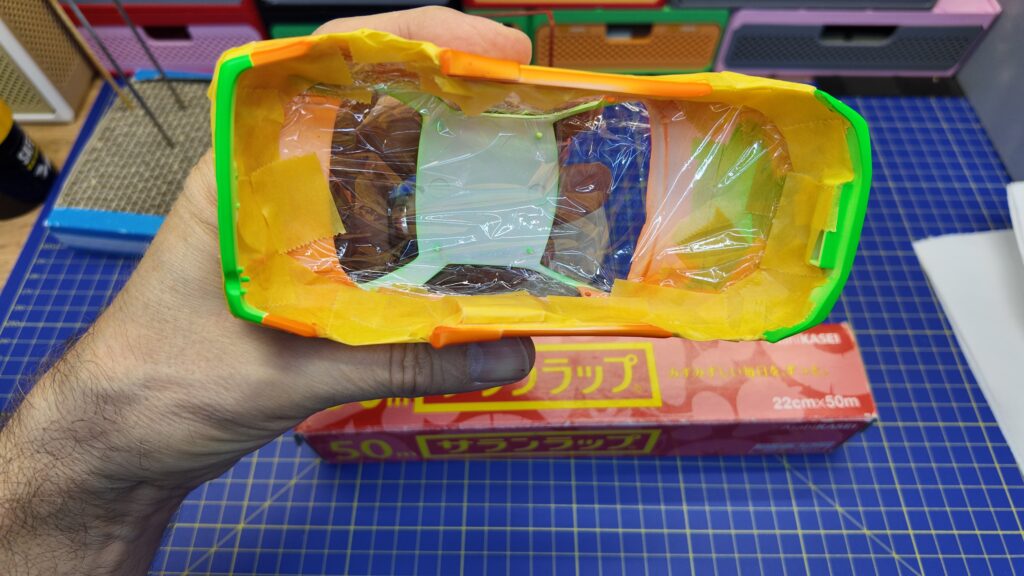
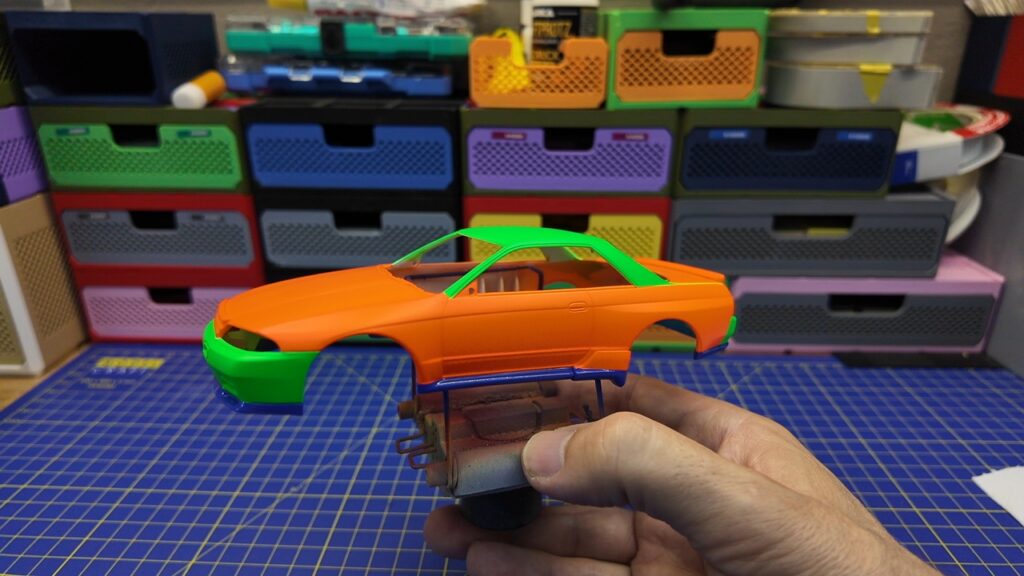
Final details included applying black to the rear license plate area and silver accents to mimic license plate lights.
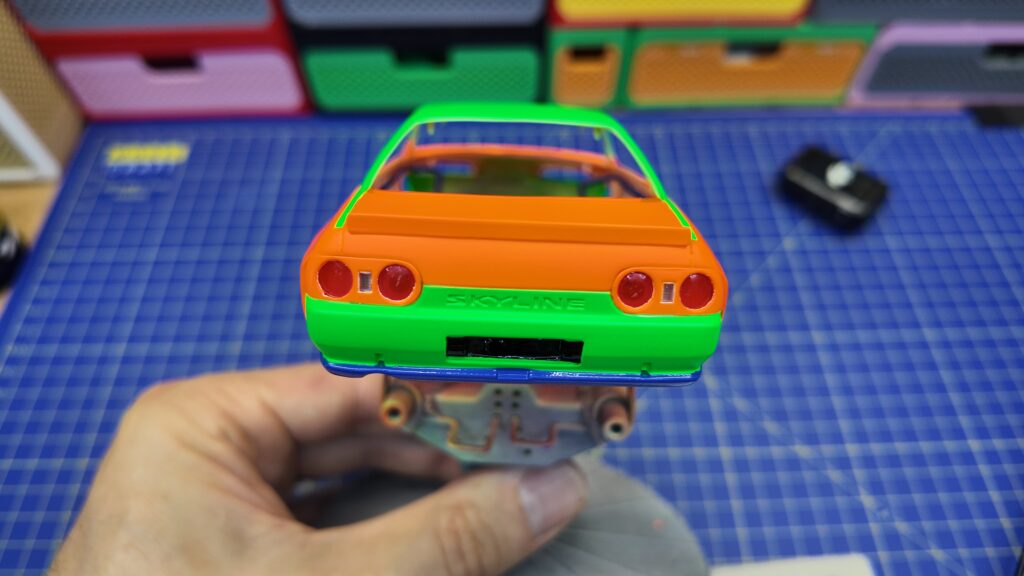
At this point, the paint job is complete except for a few details. The glass surrounds and radiator will be painted satin black after the decals are applied, and a gloss varnish is added.
Decals
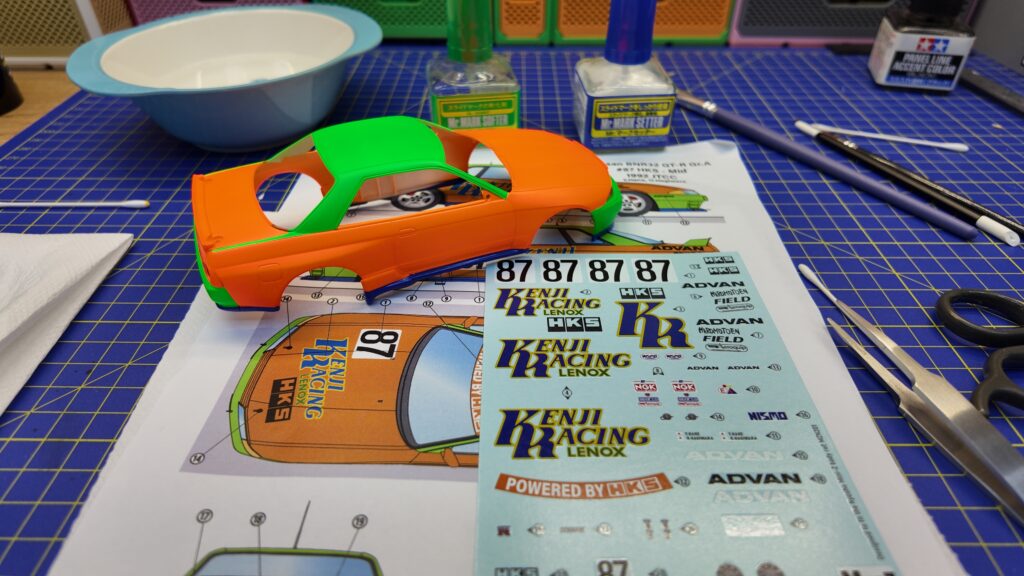
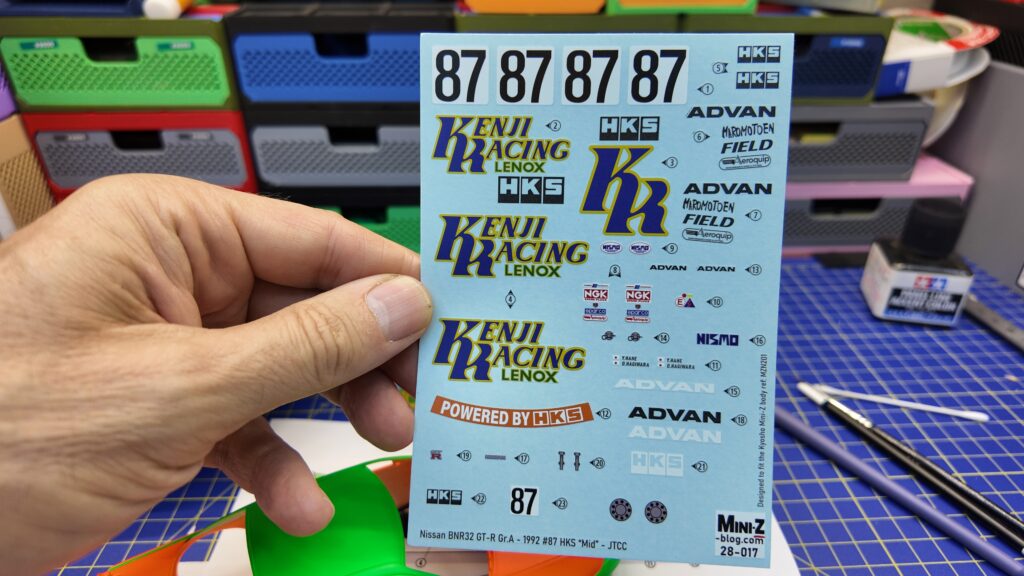
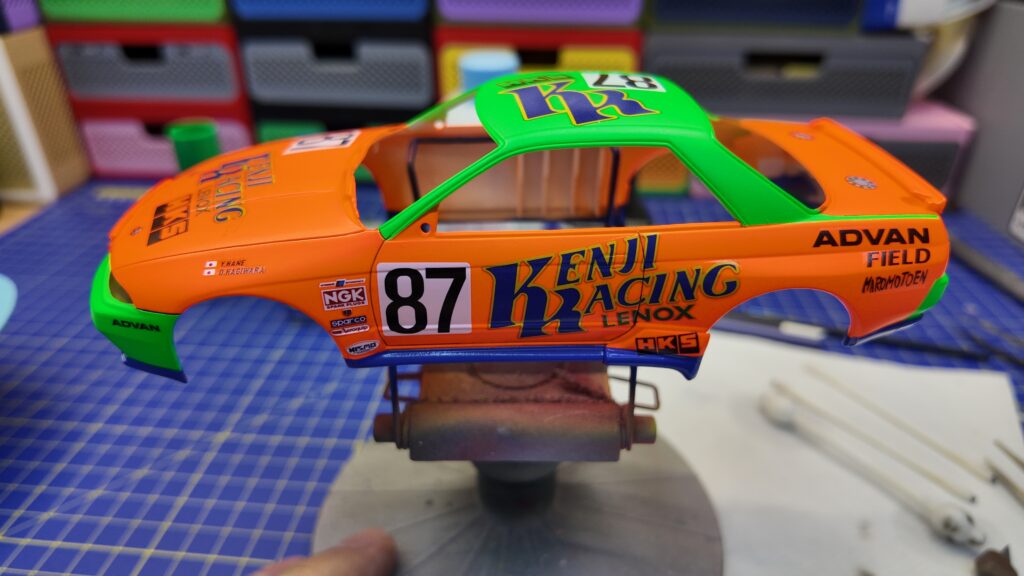
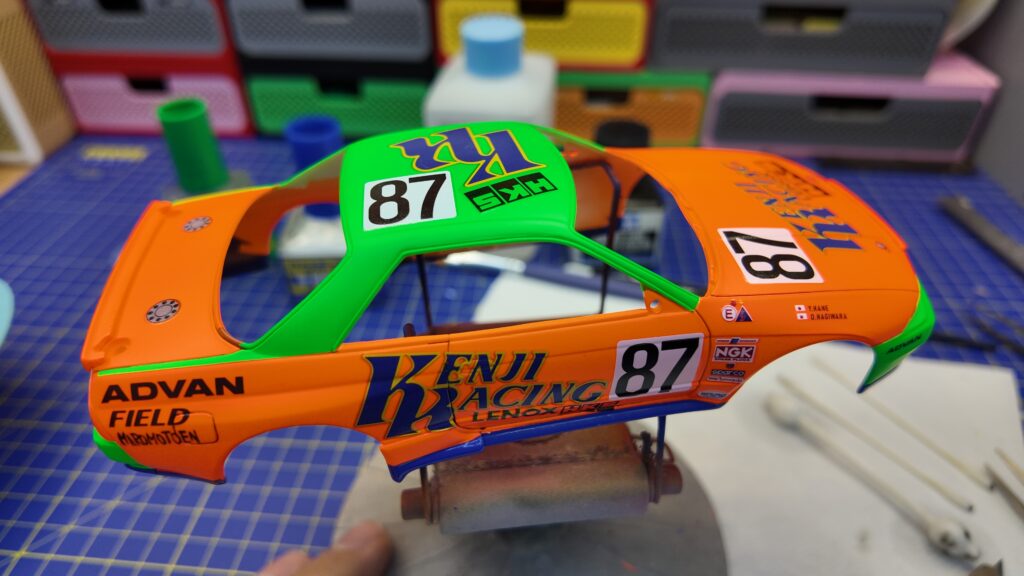
I opted for custom decals printed via the traditional offset process, ensuring authentic, precisely cut decals that fit perfectly.
For seamless decal application, I rely on MR.MARK SOFTER and MR.MARK SETTER. A low-power heat gun is also used to gently soften the decals, ensuring a bubble-free fit and a flawless bond between the decals and the painted surface.
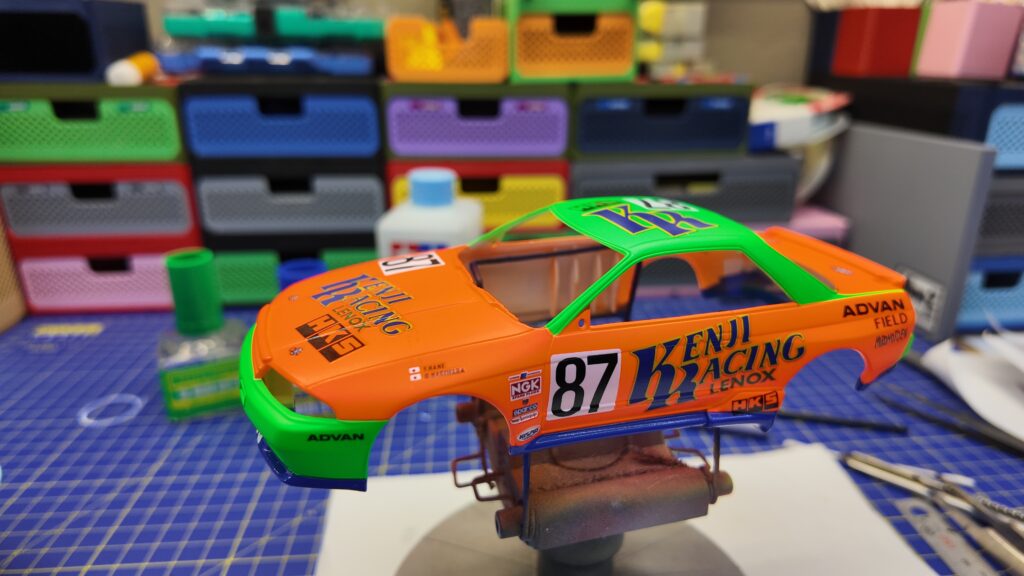
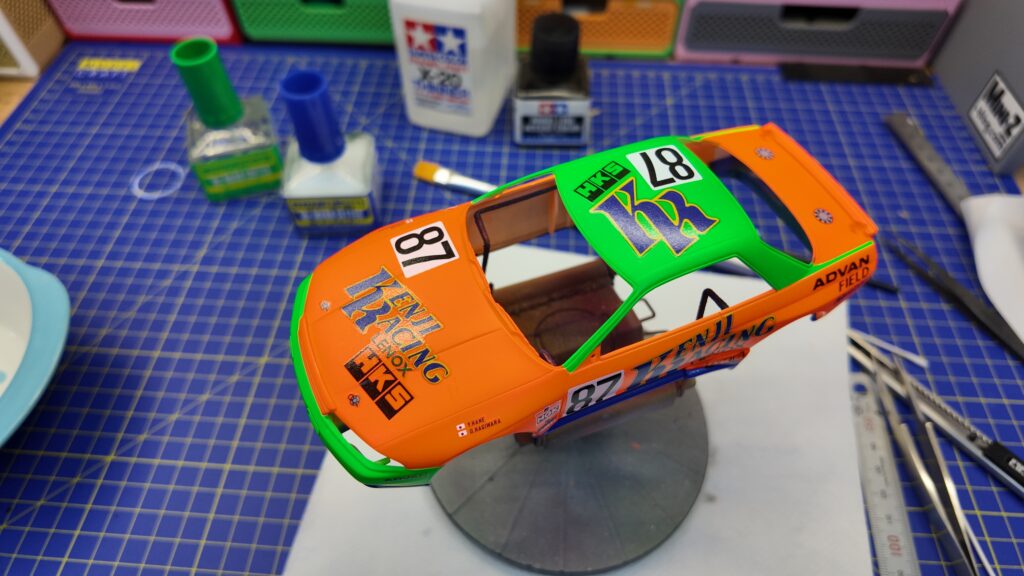
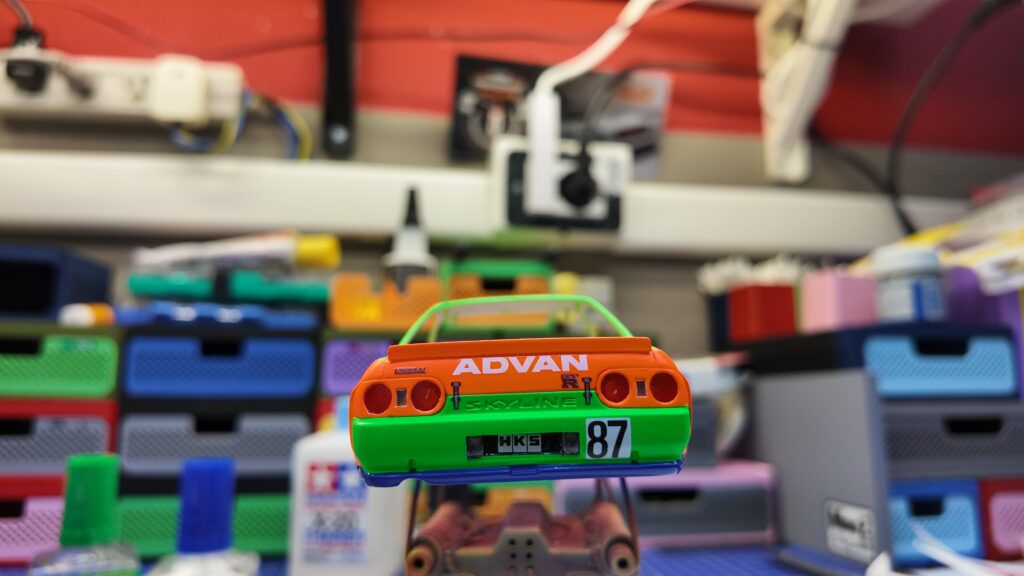
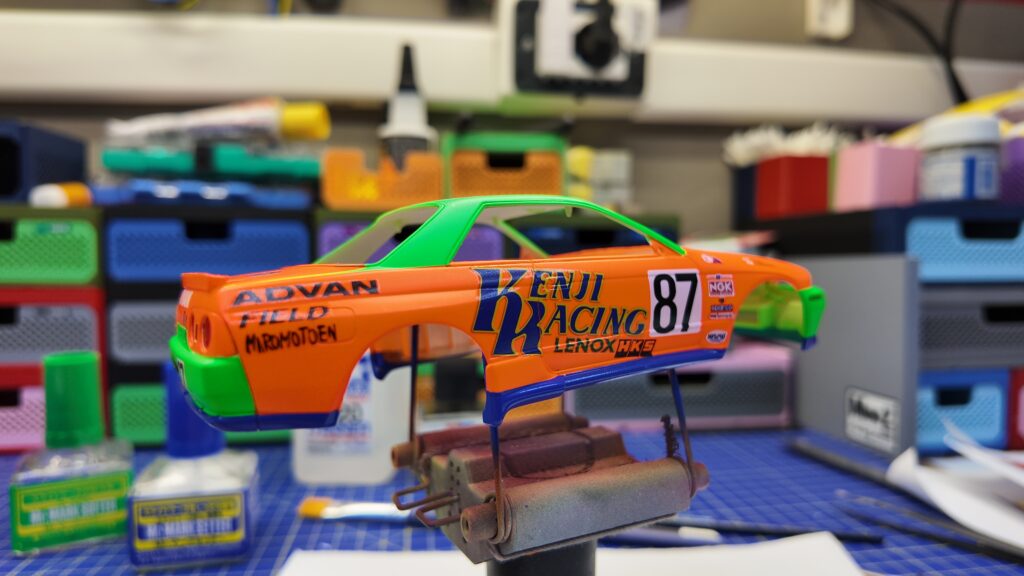
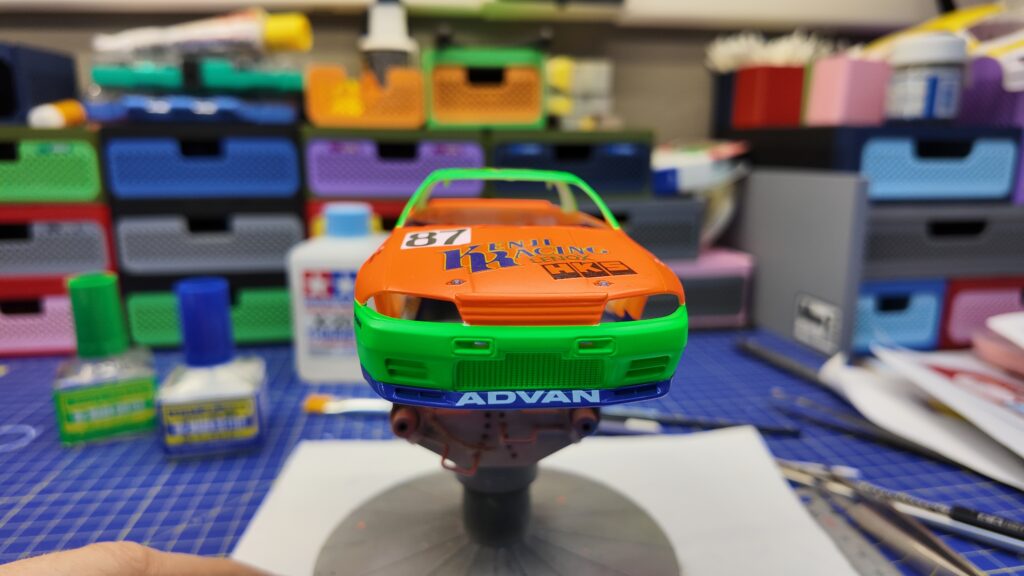
I then have applied some Tamiya Panel Line Accent Color to provide ‘depth’ to the look of the body.
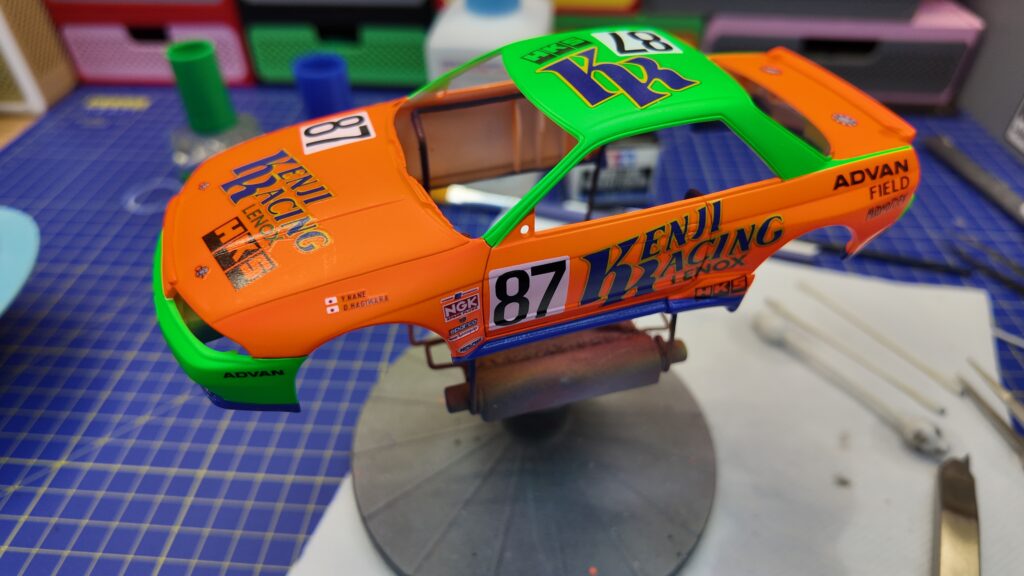
Varnishing
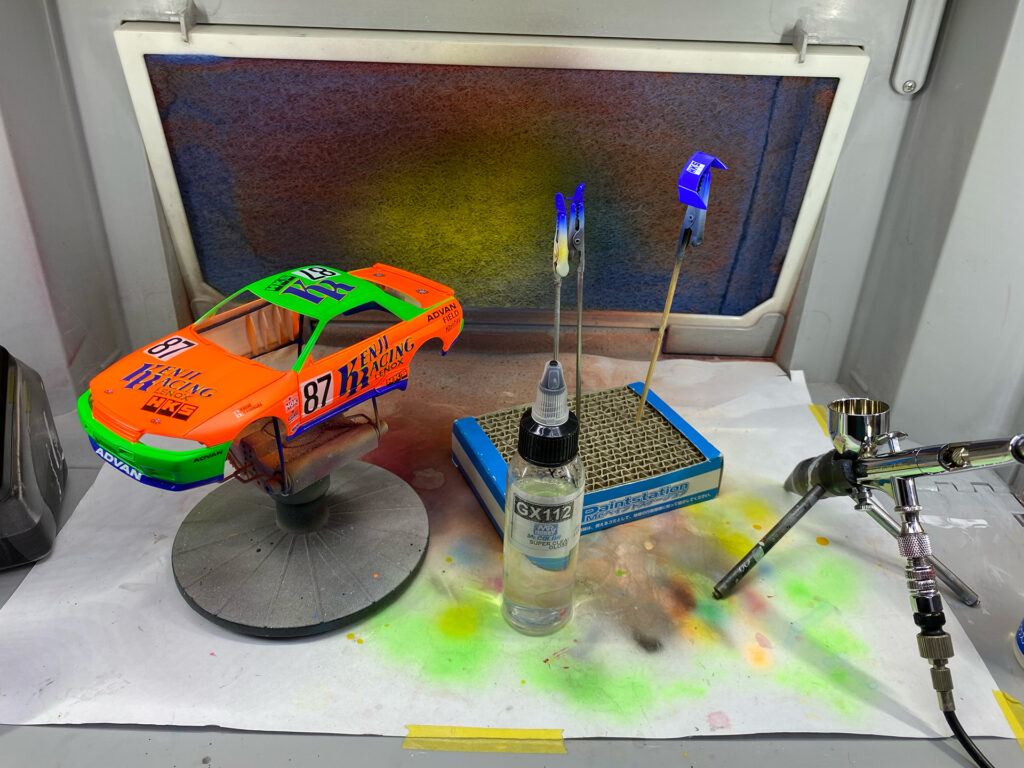
I’ve used the gloss varnish from MR.COLOR Gx112. I’ve first applied two light layers, then several thick layers of varnish.
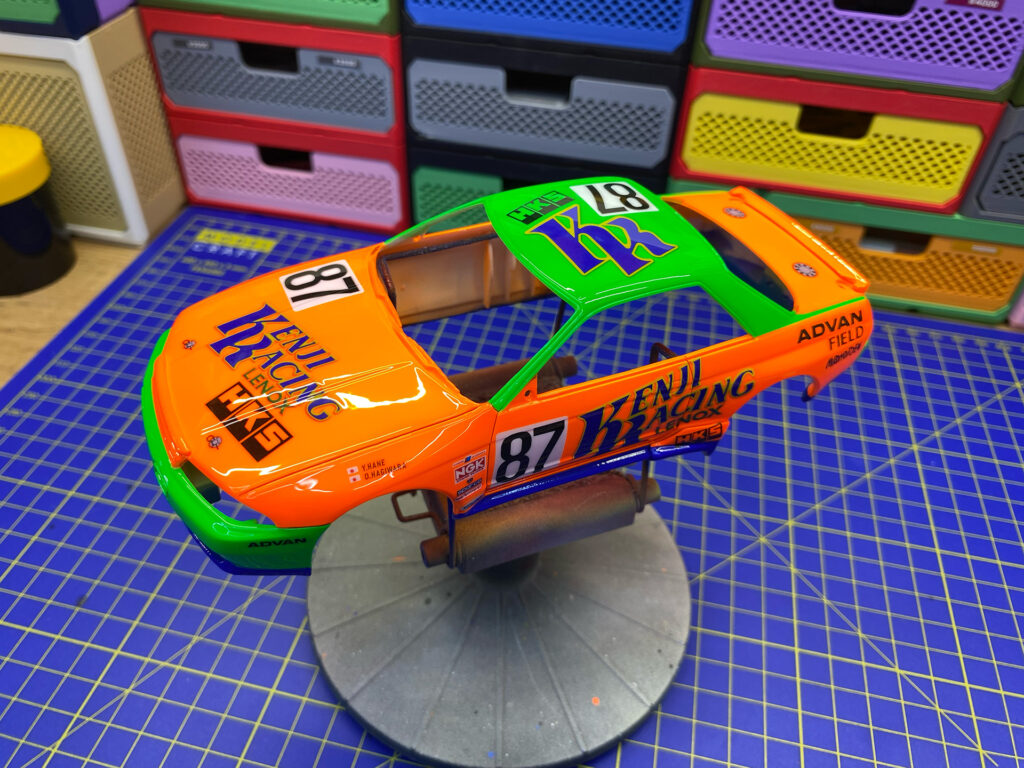
Once varnished, the finish can be left as is or refined further through sanding and polishing to create a smooth surface. While polishing restores some luster, it won’t match the initial gloss of fresh varnish – a subtle finish that’s actually more true to life, since real race cars rarely have a showroom shine.
What I did is I ‘ve slightly sanded the body to remove the orange peel effect resulting of thick layers application of varnish, then applied a highly diluted layer of varnish, to restore the shy.
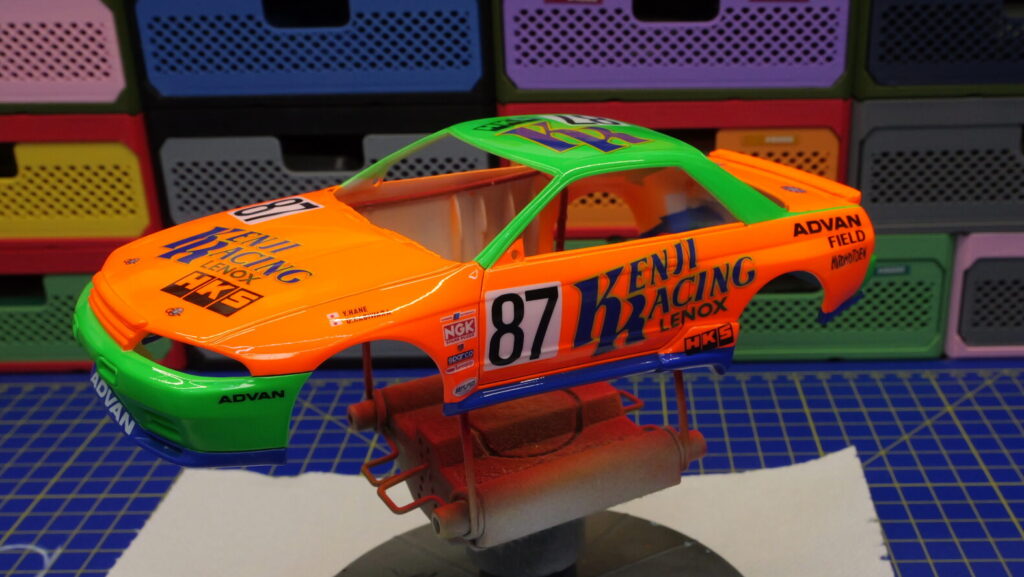
Finishing the body
The last painting job is to apply a black satin color to the windows and windshield surroundings as well on the radiator.
Then, we painted the front lights with a chrome color, here the AK Chrome.
The lights glasses have received light layers of transparent orange paint. Then, they were masked to be able to apply a layer of black satin to imitate the sealing.
Finally, all parts are put together to complete the car.
Photos
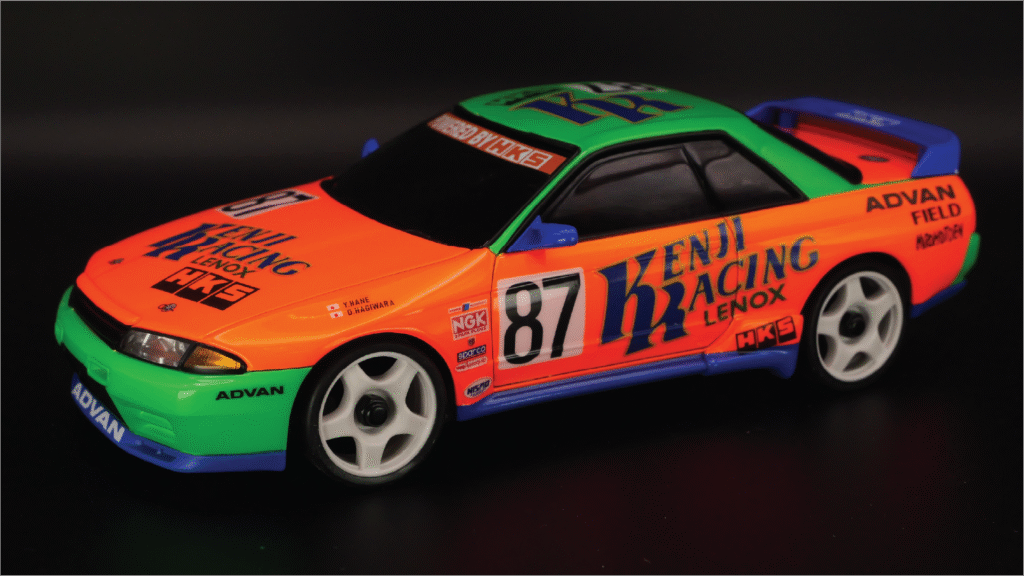
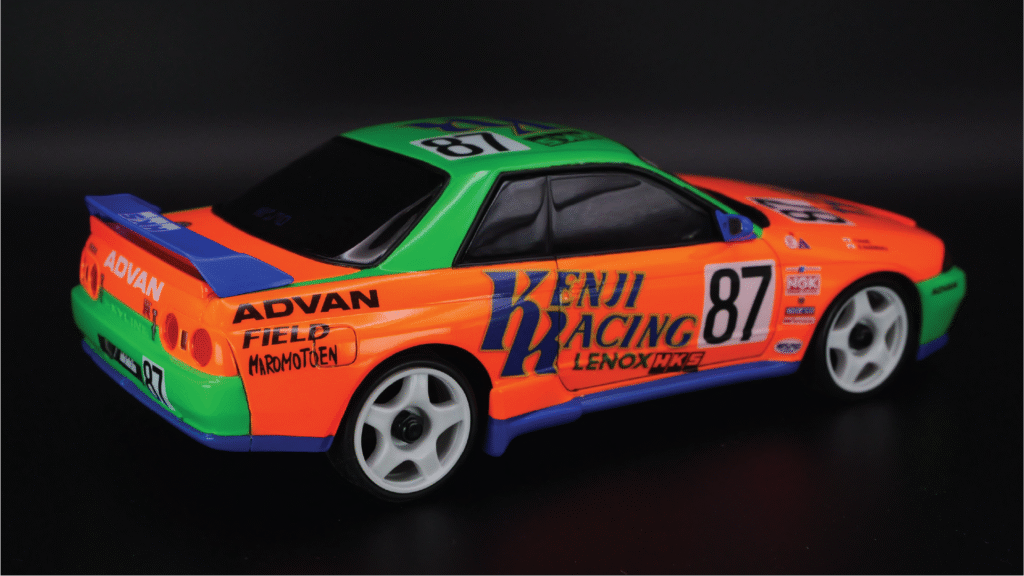
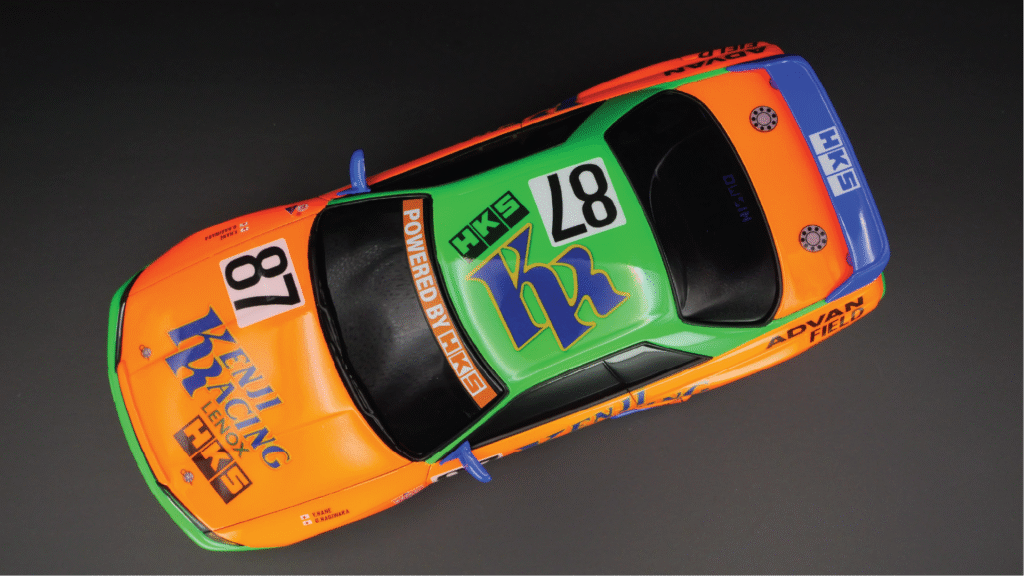
Conclusion
The car’s got a bold look that definitely stands out! Given its departure from classic liveries of the era, opinions will likely be polarized – it’s either going to be a hit or a miss. I’m planning to complete the series by creating the other two season liveries, so stay tuned!
Notes
There are a couple of errors with the decals that will be corrected and re-printed.
References
Wikipedia: 1992 Japanese Touring Car Championship
Auto Sport (in Japanese): Group A GT-R won a victory with the original tuned engine of “HKS SKYLINE”
Imatan’s blog (in Japanese): The unexpected origin of the HKS GT-R
Videos
1992 JTCC Round 3 (Sportsland SUGO, Miyagi):


Awesome work and thanks for sharing all the specific details. What printer and decal paper are you using for printing your own water slide decals?
Thanks for you comments! I’ve outsouced the print to a professional shop that print decals like the ones you find with the scale models from Tamiya or Hasegawa. It’s expensive as there is a minimum order of 25 sheets to place.