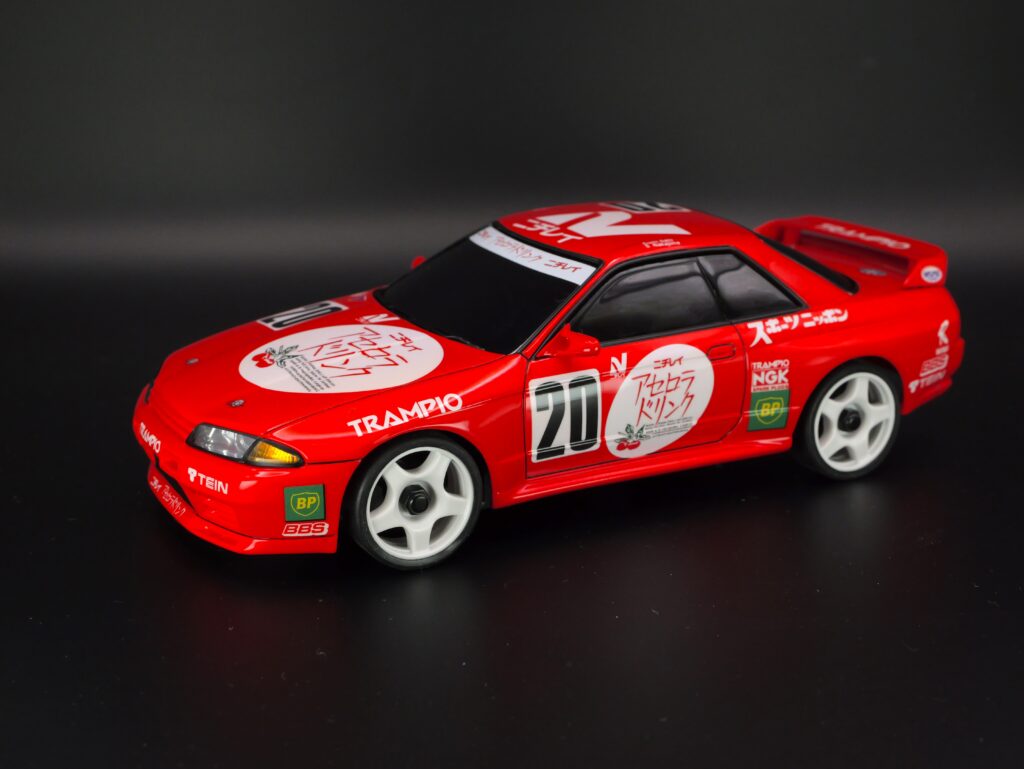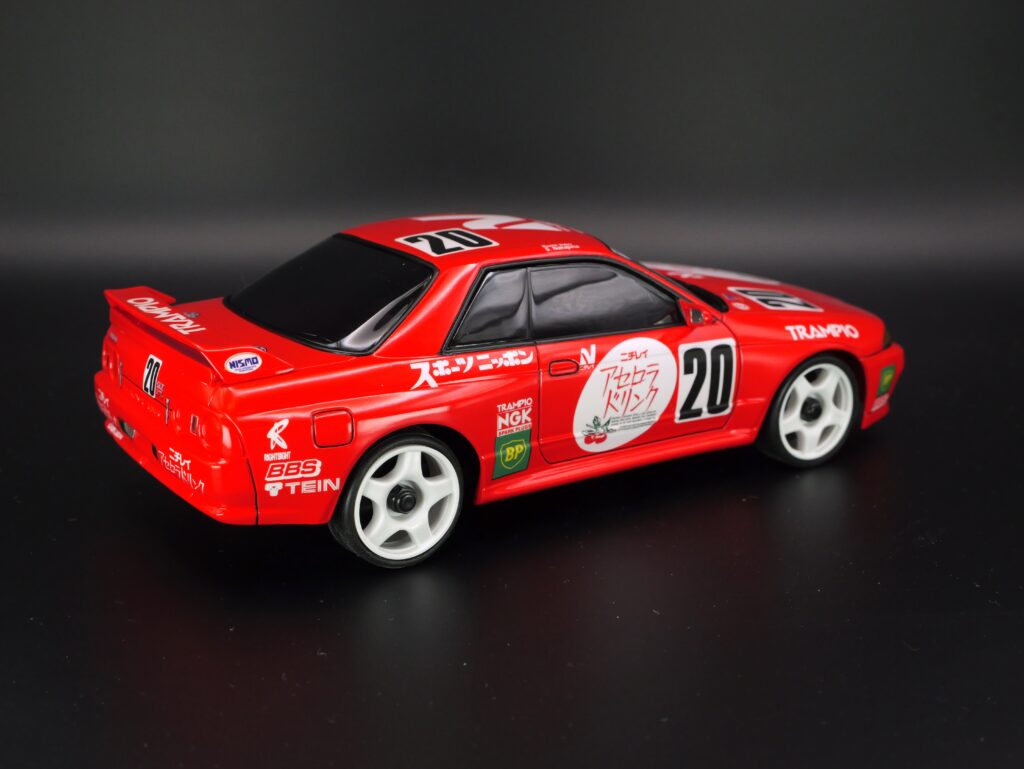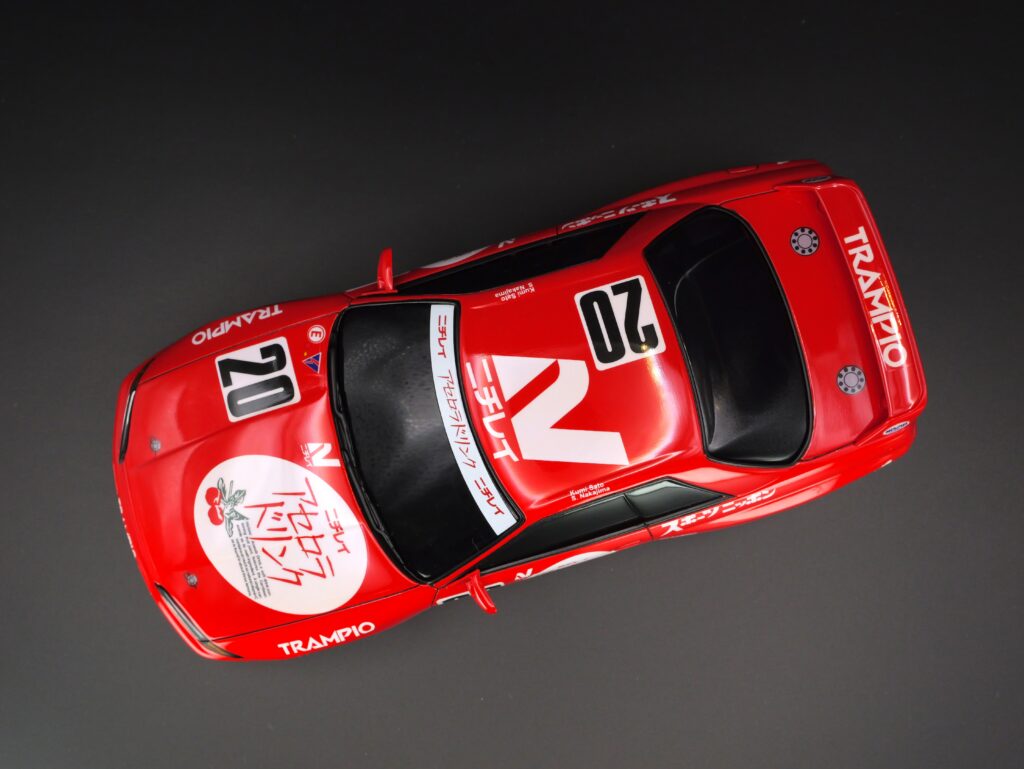

I used the Kyosho “MZN201 – Skyline GT-R R32 Group A Specifications” white body to build this livery. You can find a description of this body here.
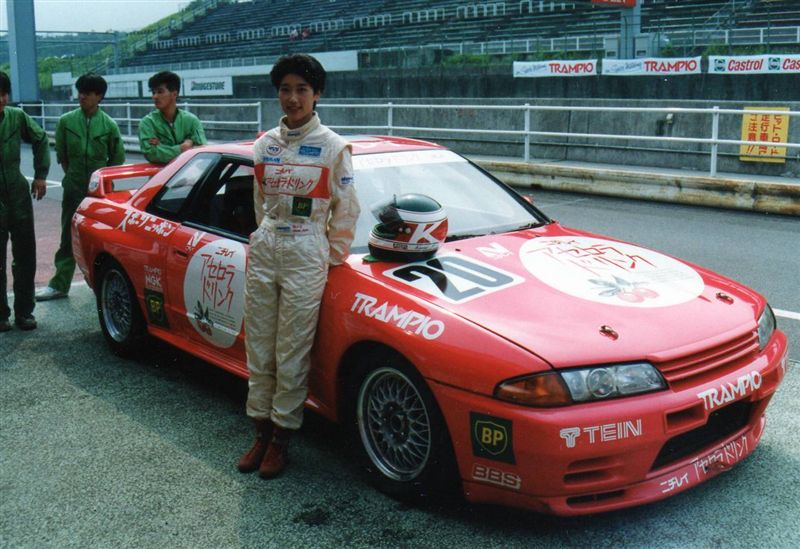
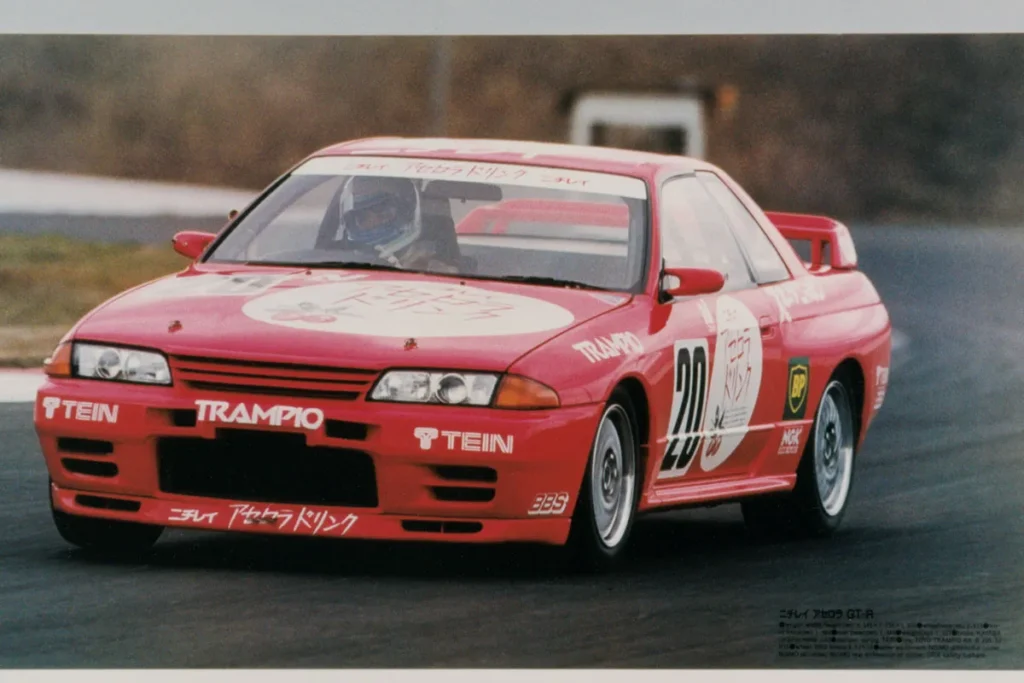
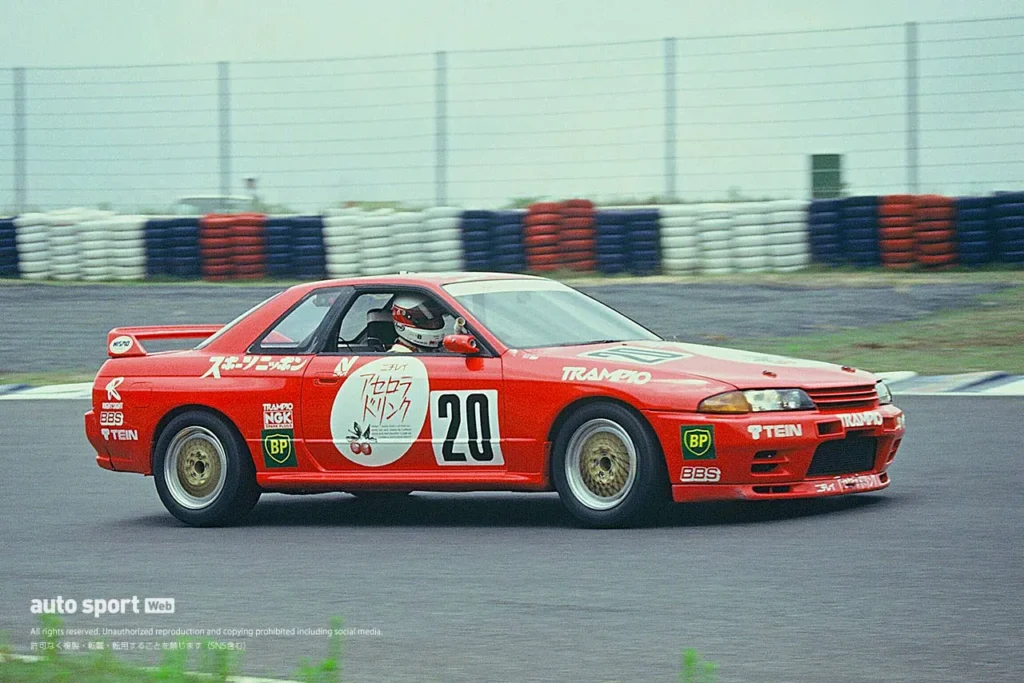
The car has run in the 1992 N1 Endurance serie. As for the 1991 #11, Kumi Sato was one of the driver. I’m not sure why the have changed the race number from #11 to #20.
These are the photos I have found:
On the side note, in 1993, Kumito Sato has also raced in an other R32 :

Decals design & body colors
No differences with the #11 except some changes with sponsors,
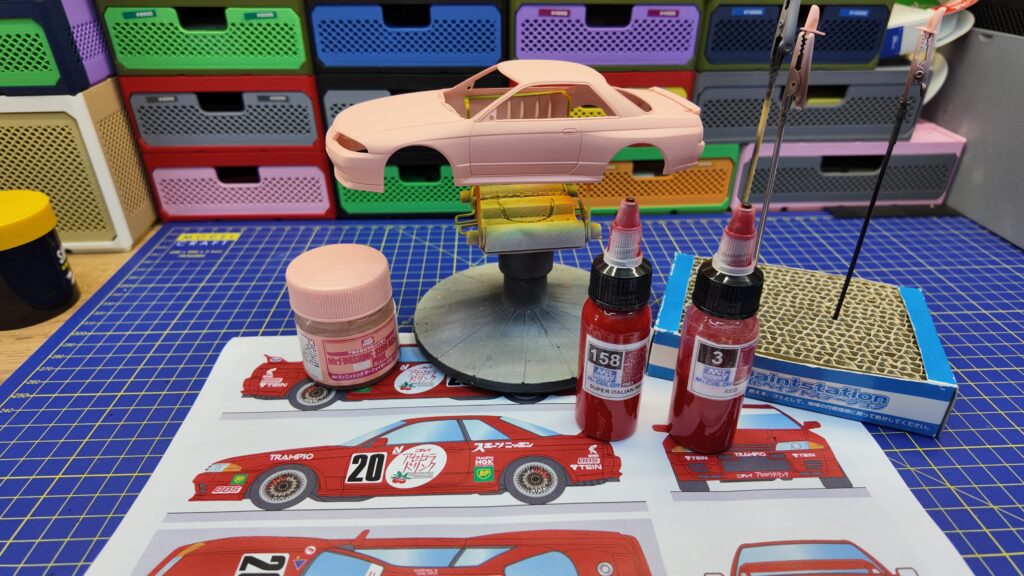
The car’s body is plain red. I’ve made an arbitrary choice choosing the MR.COLOR Super Italian Red reference C158. It’s more intense than the basic MR.COLOR Red (C3).
Body preparation
As I usually do, the body was sanded to remove all the parting lines and all groves have been reengraved give a better ‘depth’ to the look of the car.
As the car is red, I’ve used a pink primer, MR.FINISHING SURFACER 1500 PINK (SF292).
Painting the body
As indicated earlier, there is just one color to apply. The first two layers are thin then followed by two thick coats.
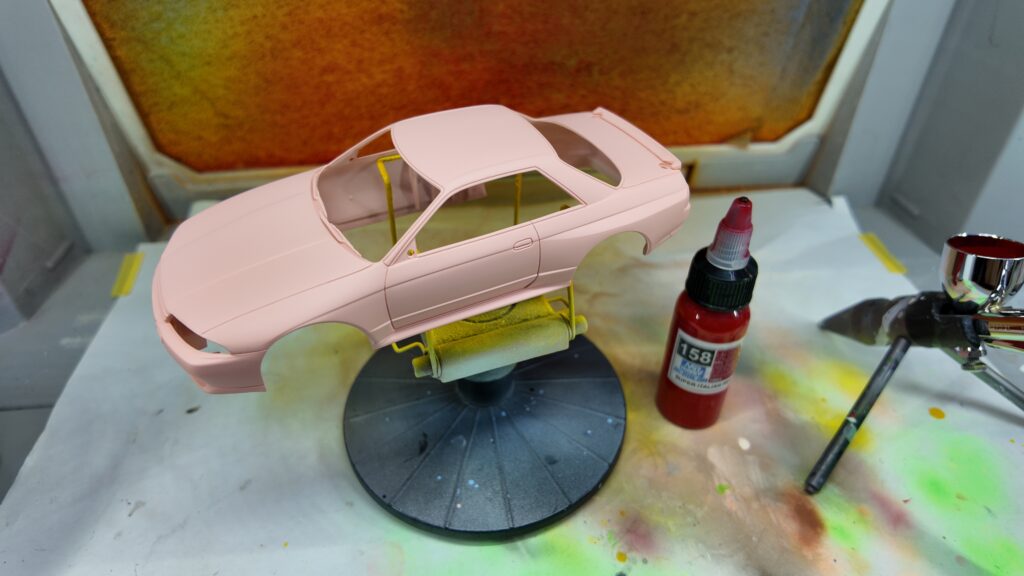
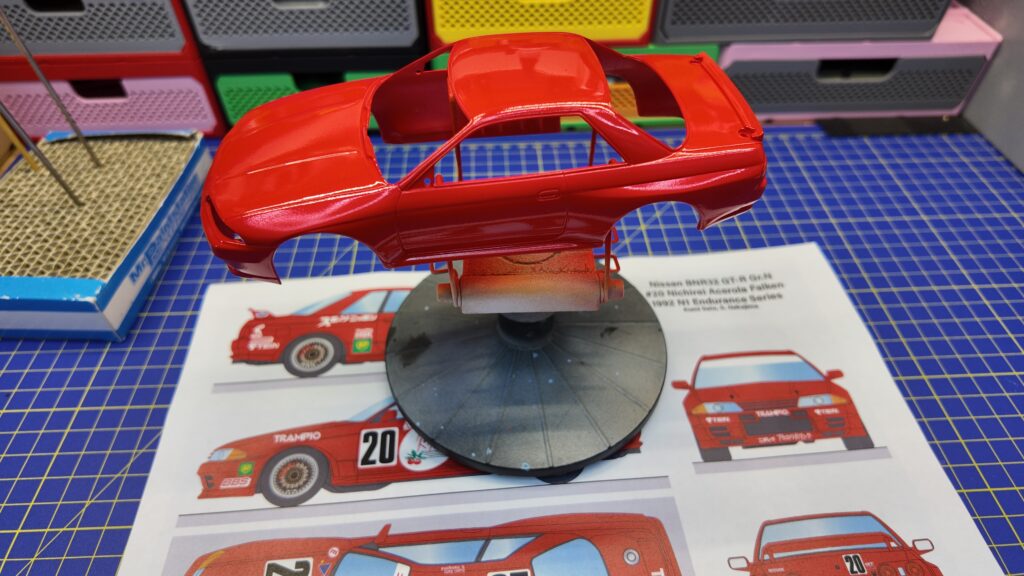
That’s all before applying the decals. The glasses surround and the radiator will be painted in satin black after having applied the decals and the gloss varnish.
Decals
We’ve sent the decals to be printed using the traditional offset process. This way we obtain real decals with precuts.
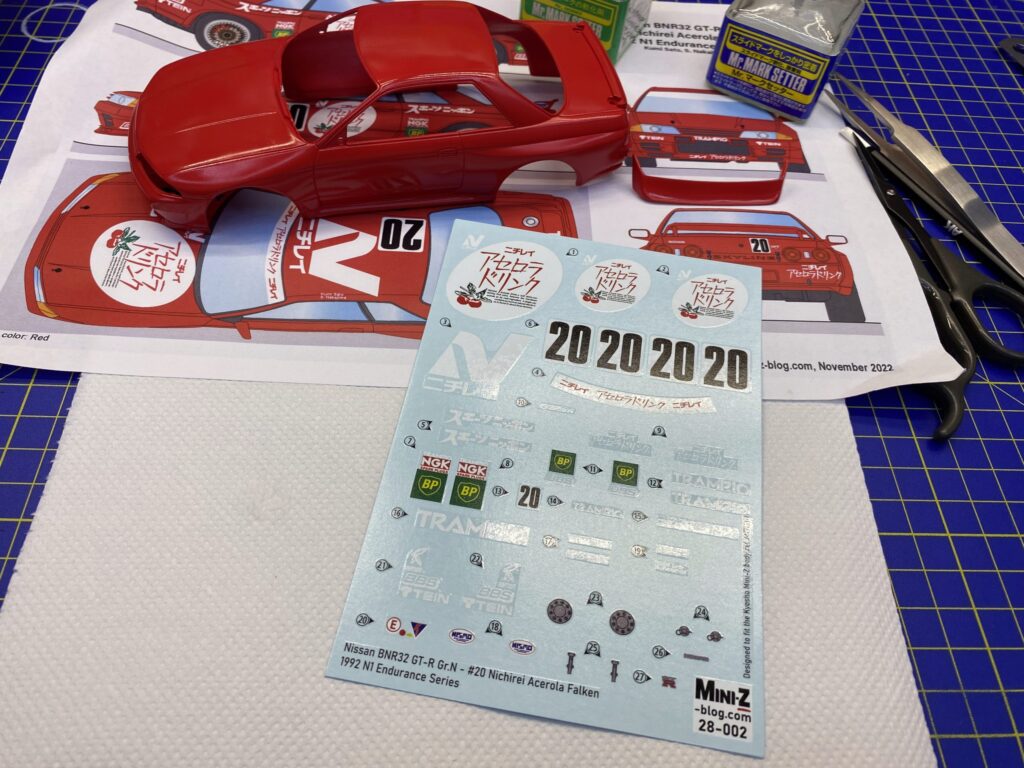
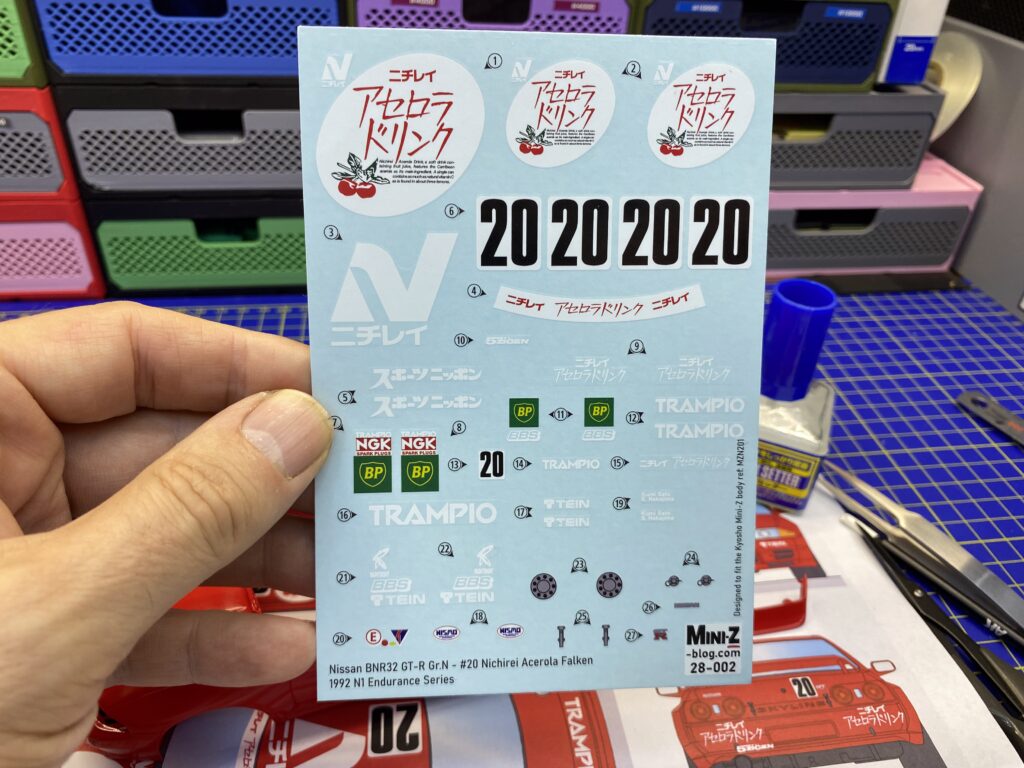
To apply the decals, we use the MR.COLOR products. We also use a low power heat gun to soften the decals further when needed. The target is to make sure there is no air bubbles between the decals and the paint.
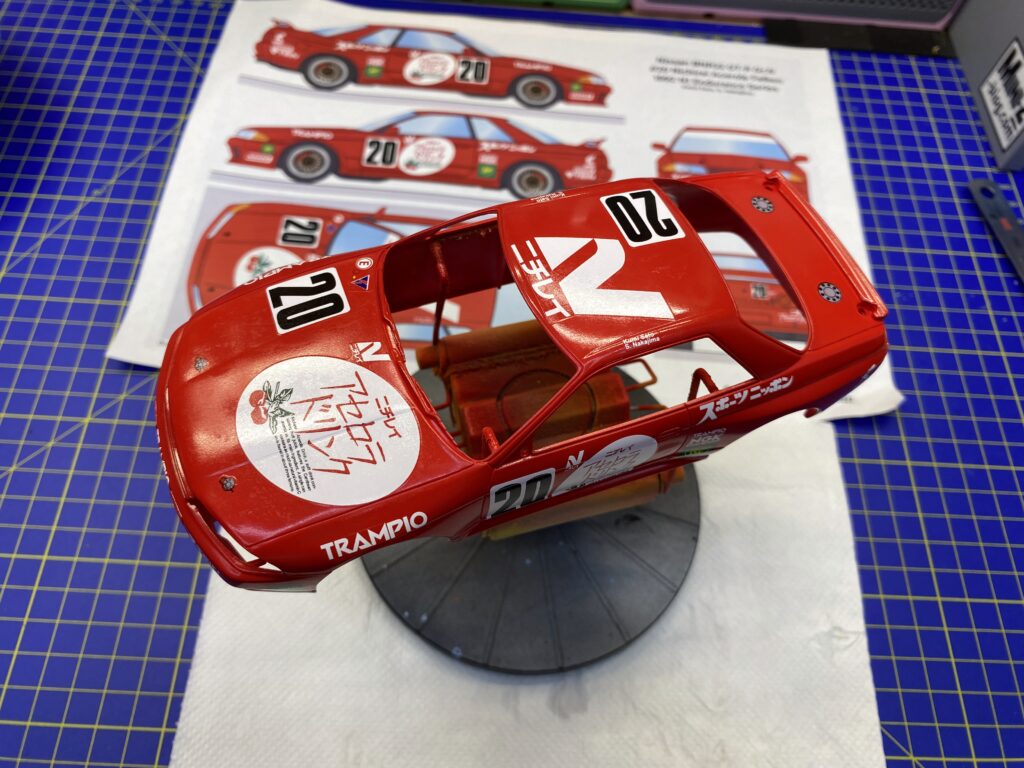
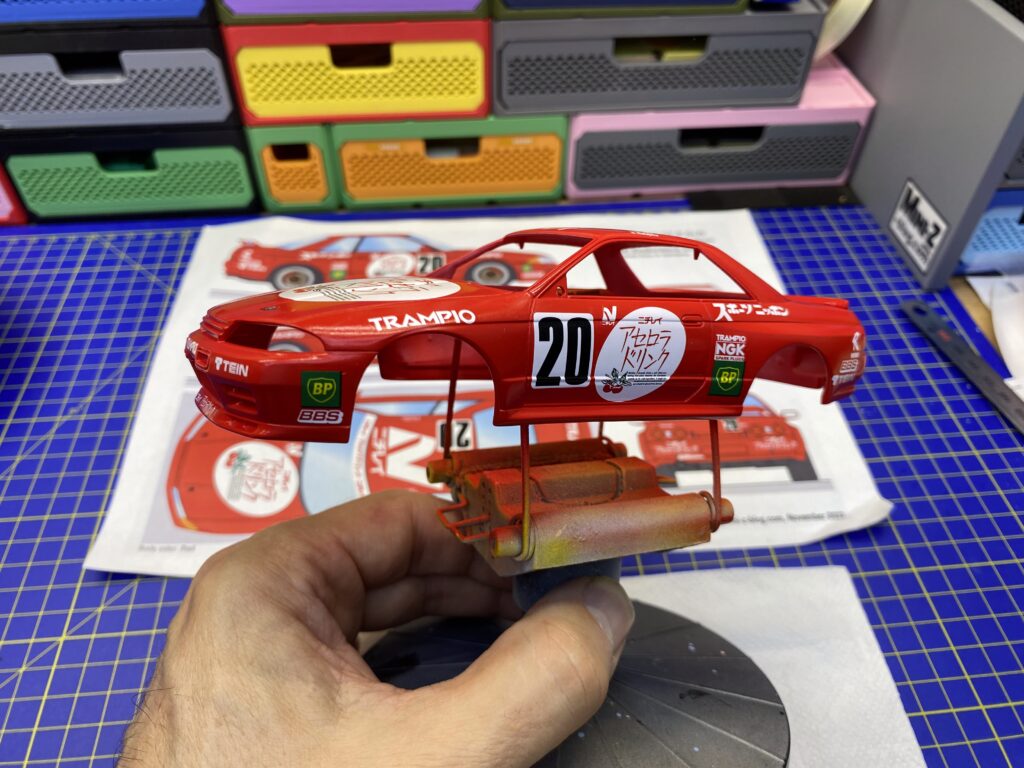
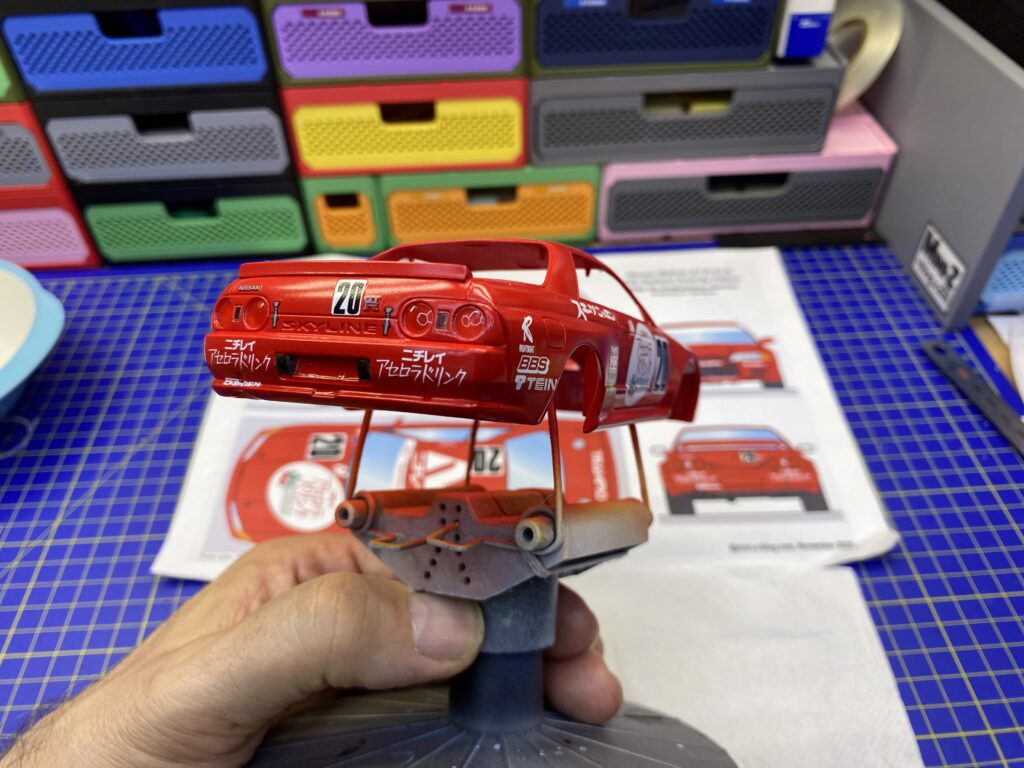
Varnishing
I use the gloss varnish from MR.COLOR. I first applied two light layers, then several thick layers of varnish.
After varnishing, you can either let the varnish as it is or decide to sand and polish the body to smooth the surface. After polishing, the shine of the varnish is back but it will still not be as shiny as after varnishing. I think it’s fine because the real race cars are never shiny. I’ve decided to sand the body to remove the irregularities, then apply of highly diluted varnish to restore the shine.
Finishing the body
The last painting job is to apply a black satin color to the windows and windshield surroundings as well on the radiator.
Then, we painted the front lights with a chrome color, here the AK Chrome.
The lights glasses have received light layers of transparent orange paint. Then, they were masked to be able to apply a layer of black satin to imitate the sealing.
Finally, all parts are put together to complete the car.